Articles
Secrets to a Crispy Baking Crust
2025-08-22
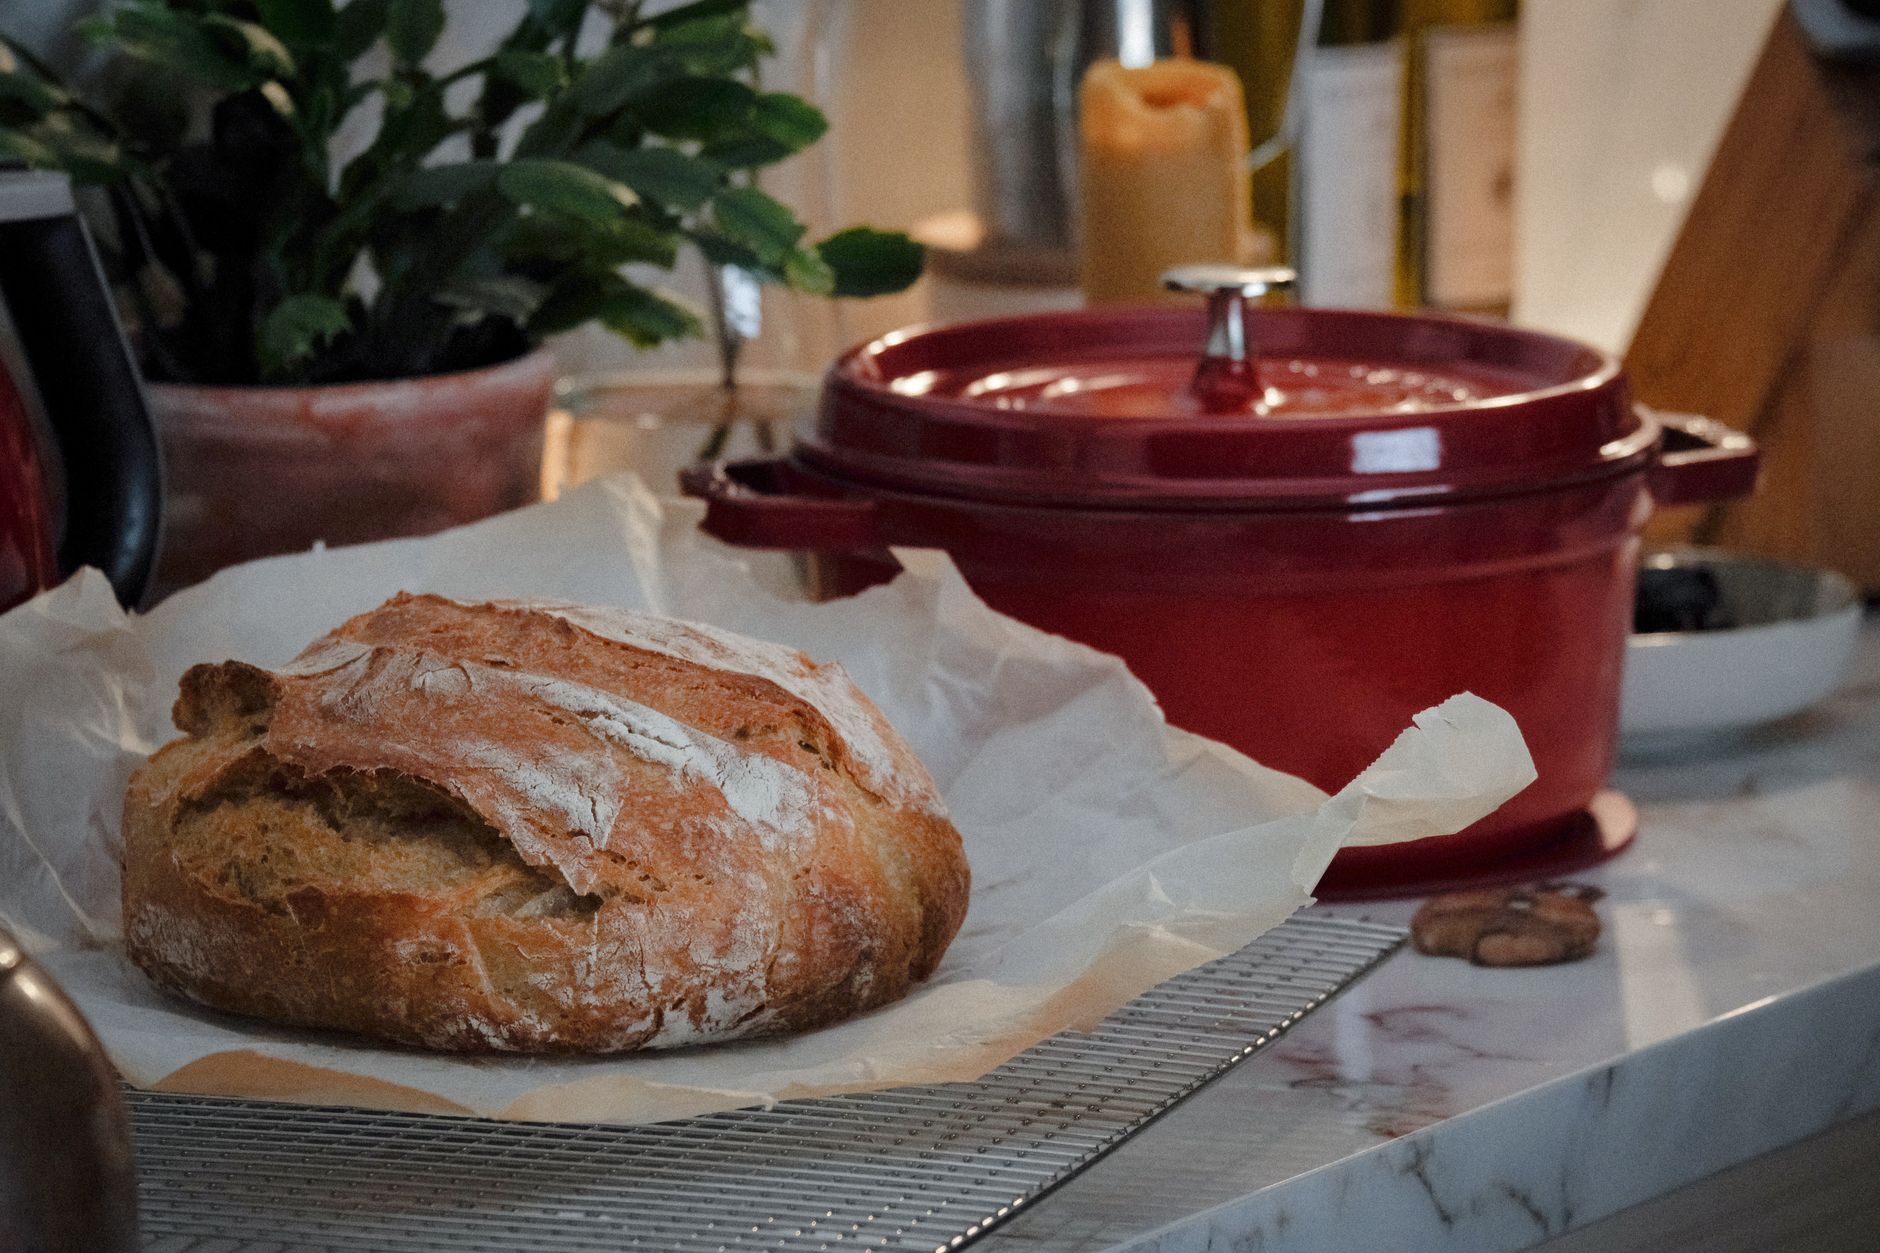
A crackly, audibly crisp crust is what separates bakery bread from a homemade loaf that looks similar but bites soft and unremarkable. The gap almost never comes down to the recipe itself — it’s usually a handful of technical details in the baking process that are easy to overlook.
Steam in the oven
Commercial bread ovens inject steam during the first few minutes of baking. Steam keeps the surface of the dough from drying out too early, which lets the loaf finish its final rise in the oven (often called “oven spring”) before the crust starts to firm up and brown. Without steam, the surface sets almost immediately, the dough can’t expand as freely, and the resulting crust tends to be denser and less crisp.
How to create steam at home
A home oven can fake this in a few ways. The simplest is to place a metal tray on the oven floor and pour a splash of hot water onto it right after the bread goes in — just move quickly and carefully to avoid the burst of steam. Another option is baking in a covered, heatproof pot such as a cast-iron Dutch oven: the dough releases its own moisture, which stays trapped inside for a while and creates a mini steam chamber.
High heat at the start
A crisp crust needs a fairly high starting temperature, generally 220°C (425°F) or higher for most bread doughs. An oven that’s properly preheated, ideally along with a preheated baking stone or a heavy tray on the bottom rack, gives the dough a sharp burst of heat that kicks off a fast rise and crust formation. If the oven is cooler than it should be, the dough dries out slowly instead, rises more sluggishly, and the crust ends up paler and softer.
Dough hydration and flour ratio
Dough that’s too stiff and heavily floured holds less moisture and tends to bake into a thicker, tougher crust without much crispness. Wetter dough, by contrast, tends to produce a lighter, crisper crumb and crust, even though it’s stickier and trickier to handle by hand. Weighing flour and liquid instead of using measuring cups helps keep the ratio consistent and avoids accidentally working in too much extra flour during shaping.
Scoring the dough
The cuts made across the top of a loaf with a sharp blade or knife before baking aren’t just decorative. They give the dough a predetermined line along which to expand as it rises in the oven, so the crust opens up cleanly along the score instead of tearing randomly — and the exposed “ears” that form along the cut tend to crisp up especially well thanks to their extra surface area.
Letting it cool before cutting
Many people cut into hot bread the moment it leaves the oven, but the crust actually finishes forming during cooling: steam escaping from the crumb passes through the crust and helps it crisp, and the crust itself firms up gradually as the loaf cools. Bread sliced too early often seems to have a soft, damp crust — not because it’s underbaked, but because it hasn’t finished settling after the oven.
Flour choice and protein content
Flour with a higher protein content, typically bread flour or a strong all-purpose flour, builds a sturdier gluten structure that holds gas better during rising and ultimately supports a crisper, more pronounced crust. All-purpose flour still works fine for home baking, but the crust it produces is often a touch less dramatic than what you’d get from a dedicated bread flour.
The combination of these factors — steam, heat, the right hydration, scoring, and patient cooling — explains why the same bread recipe can turn out so differently in different ovens and different hands. It’s worth testing these variables one at a time to figure out which one makes the biggest difference in your own kitchen.
 Share via email