Articles
How to Sharpen a Kitchen Knife at Home
2026-03-04
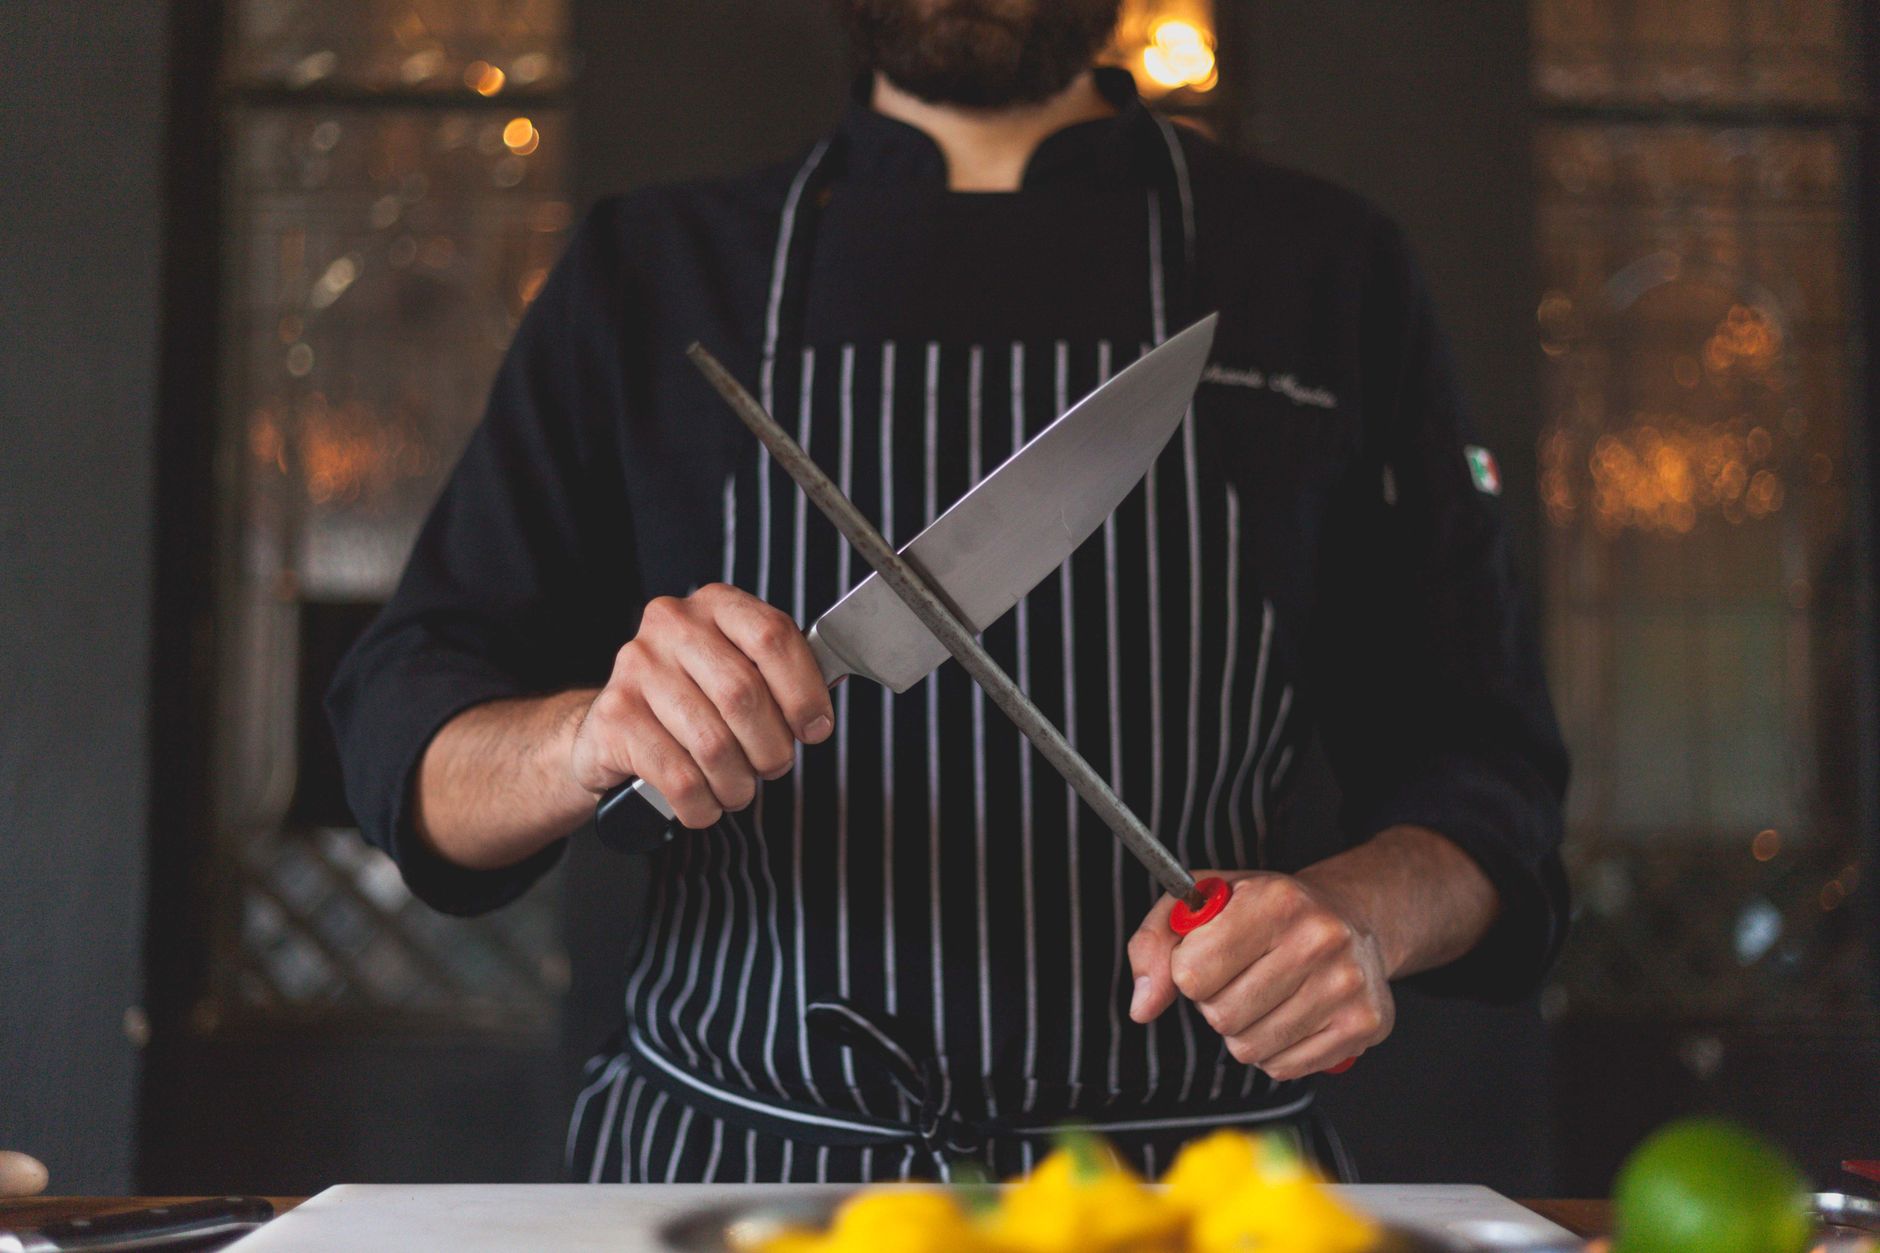
A dull knife in the kitchen isn’t just annoying — it’s genuinely more dangerous, since it takes more pressure to cut, and more pressure means more risk of the blade slipping off whatever you’re cutting. Sharpening a knife at home sounds more intimidating than it actually is; with the right tool and a bit of practice, it’s a manageable task that doesn’t require a trip to a professional.
Sharpening and honing are not the same thing
The first thing worth understanding is that sharpening and honing are two different processes. Honing — typically with a honing steel, a ridged metal rod — doesn’t remove any metal from the blade; it just straightens the microscopically bent edge, restoring sharpness temporarily. A honing steel is worth using regularly, even after every use, to keep a knife performing well between sharpenings. Actual sharpening removes a thin layer of metal and forms a new cutting edge — it’s needed less often, once honing stops bringing back the sharpness you’re used to.
What you’ll need
For sharpening at home, a whetstone (water or oil stone) with two grits is enough — a coarser one to form the edge and a finer one for polishing and refining it. It also helps to have a small container of water on hand for water stones, a non-slip mat or damp towel under the stone to keep it steady, and, if available, an angle guide — though most people eventually learn to hold the angle by feel.
Choosing a sharpening angle
The angle at which the blade meets the stone determines both how sharp the edge gets and how long it holds. For most European-style kitchen knives, the standard angle is roughly 20-22 degrees per side; thinner Japanese-style knives typically call for something narrower, around 15-17 degrees. If you’re not sure of the exact figure for a particular knife, aim for the general 15-20 degree range and focus on keeping it consistent throughout the process — that consistency matters more than hitting an exact number.
The sharpening process itself
Start with the coarser grit. Hold the knife at your chosen angle and draw the blade across the stone from heel to tip, as if shaving a thin layer off the stone’s surface, applying even pressure along the whole length of the blade. Give each side the same number of passes — you can judge progress by feeling for a burr, a tiny wire-thin ridge that forms along the entire edge, which you can feel by running a finger gently across the blade (never along it). Once the burr runs the full length on one side, switch to the other side, then repeat the whole process on the finer stone to polish the edge.
Checking the result
Once you’re done, test the knife on something real: try slicing a sheet of paper or cutting into a tomato. A properly sharpened knife should glide through paper cleanly, without tearing, and bite into tomato skin with almost no pressure. If it’s still catching or tearing rather than slicing, a few more passes on the fine grit usually help — or check whether the angle drifted partway through.
Common beginner mistakes
The most common mistake is an inconsistent angle while drawing the blade across the stone — even small variations produce an uneven, wavy edge that cuts worse than before you started. The second common issue is pressing too hard, which doesn’t speed anything up but does raise the risk of damaging the edge or removing metal unevenly. It’s also worth keeping a water stone wet as you work — a stone that’s allowed to dry out works less effectively and clogs with metal filings faster.
How often to sharpen
For a knife used daily in the kitchen, a full sharpening is usually needed no more than every few months, assuming it’s honed regularly in between. If a knife sees lighter use, or is mostly used on softer foods, the interval can stretch even longer. The better guide isn’t a calendar but how the knife feels in use — once honing stops bringing back the sharpness you remember, it’s time to reach for the stone.
 Share via email